
Docs
First Steps
First steps after logging in to Seedly Sites - tour the operator portal, learn the key concepts, and set up your first client site.
Welcome to Seedly Sites. This page covers what to do after your first login and the core ideas you need before building client sites.
If you have not installed the platform yet, start with the Install guide and come back here once you can log in.
Signing In#
Your platform has one login screen, served by your own CMS. As the operator (the person who bought and runs the platform), you sign in with the super-admin account you created during setup and land in the operator portal, where every client site is listed.
Invited clients use the same login screen (it carries your branding) but land scoped to their own site only. If you are a client reading this, the short Client Guide is written for you.
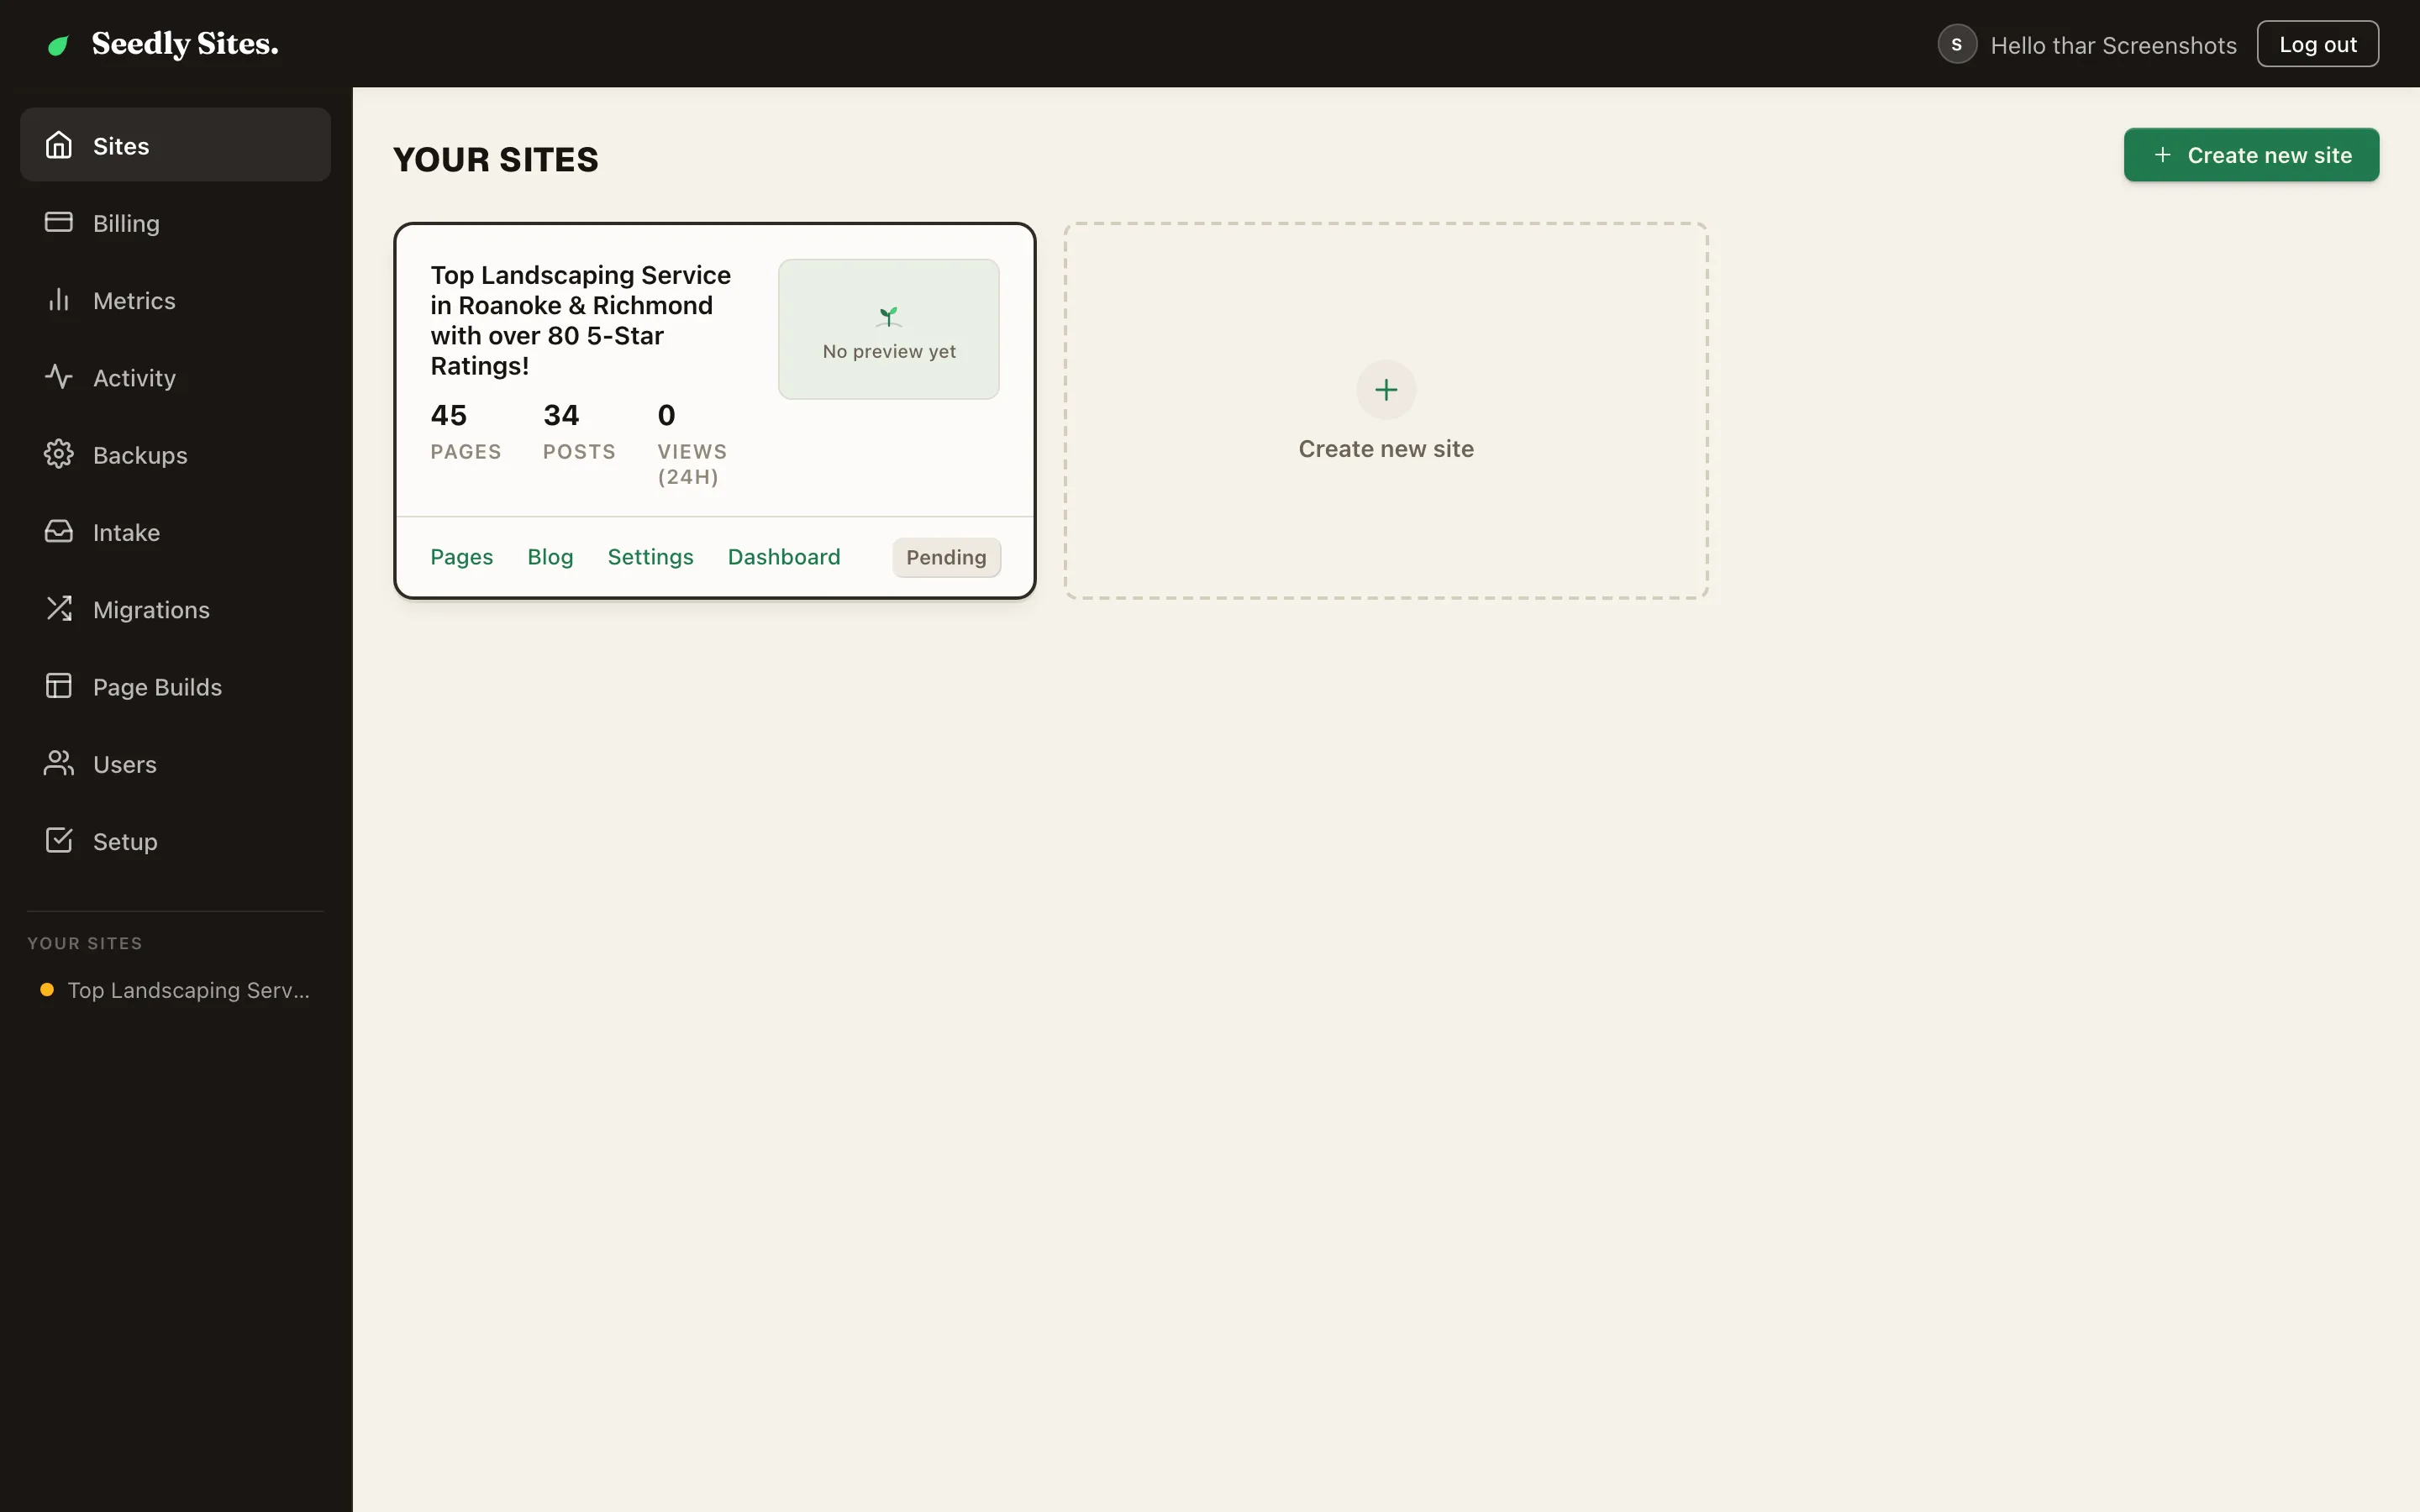
The Operator Portal#
The operator home lists every site on your platform, with a preview thumbnail and deploy status for each. The operator sidebar gives you platform-wide surfaces:
| Area | What It Does |
|---|---|
| Sites | Every client site (tenant) on the platform. Open one to work on it, or create a new site |
| Billing | Cross-site view of tenant subscriptions and payment status (Billing guide) |
| Metrics | Traffic and engagement rolled up across your sites |
| Activity | Recent changes across the platform - who edited what, and when |
| Backups | Backup surface for platform data (Backups guide) |
| Migrations | The triage board for site ports - review pages a migration produced (Port a Site) |
| Page Builds | Batch page-build jobs and their review queue |
| Users | Create and manage logins, roles, and per-site access (Users & Roles) |
| Setup | The readiness check - shows what is configured and what is missing |
The Per-Site Dashboard#
Open any site from the Sites list and you get that site's own dashboard. Its sidebar:
| Tab | What It Does |
|---|---|
| Dashboard | The site's overview - pages, recent activity, deploy status |
| Analytics | First-party click, scroll, and attention maps plus campaign views (Analytics) |
| Pages | Create and edit the site's pages; open any page in the visual builder (Pages) |
| Blog Posts | The site's blog - posts, categories, tags, authors (Blog) |
| Locations | Business locations that power maps and local-business blocks |
| Redirects | 301/302 redirects served by the published site |
| 404 Monitor | URLs visitors hit that do not exist, with a one-click redirect fix |
| Tracking | Third-party tracking scripts (for example GA4) injected on the published site |
| A/B Tests | Experimental traffic-split testing (off by default) |
| Export / Import | Move the site's content in or out |
| Technical | Sitemap, robots, page templates, home page selector, link health (Technical) |
| Settings | The site's identity, brand colors, fonts, navigation, SEO schema (Site Settings) |
| Billing | This tenant's subscription: subscribe, manage, enforcement (Billing) |
The Edit button on any page opens the visual builder, where the actual page layout happens.
Key Concepts#
One platform, many sites. Each client website is a tenant: its own pages, blog, media, settings, and domain, all managed from your single login. Clients you invite see only their own tenant. See Core Concepts for the full mental model.
Pages are built from Sections, Rows, Columns, and Elements. A page is a stack of full-width Sections; each Section holds Rows; Rows hold Columns; Columns hold Elements (headings, text, images, buttons, grids, and the rest). The builder enforces this hierarchy so every page stays clean and portable.
Publish is not Deploy. This is the number one thing to internalize. Saving and publishing content updates your CMS database. The live website only changes when you deploy the site, which rebuilds it as static files and pushes them to hosting. Deploys are always manual: you click the Deploy button when you are ready. Nothing you publish goes live by itself. See Preview, Publish, Deploy.
Static output. Deployed sites are fast, self-contained static pages served from Cloudflare Pages, one hosting project per client, each with its own custom domain. See Hosting & Domains.
Recommended First Steps#
- Run the readiness check. Open Setup in the operator sidebar (or run the doctor from a terminal) and clear anything it flags. Provisioning explains each item.
- Create your first site. Sites list, then Create new site. Give it a name and slug. Managing Sites covers the details.
- Set the brand. Open the site's Settings tab and fill in identity, colors, fonts, and business details before building pages. Site Settings explains why this comes first.
- Build or port. Lay out pages in the visual builder, or port an existing site and finish it in the builder.
- Preview, publish, deploy. Check the live preview, publish your pages, then click Deploy to put the site on the internet. Deploying a Site walks through it.
- Invite the client. Create their login with a role that fits how much they should touch. Users & Roles.
Where to Go Next#
- Install and Provisioning if the platform is not live yet
- Builder Basics to learn the editor
- Element Reference for every block you can place
- Troubleshooting when something misbehaves